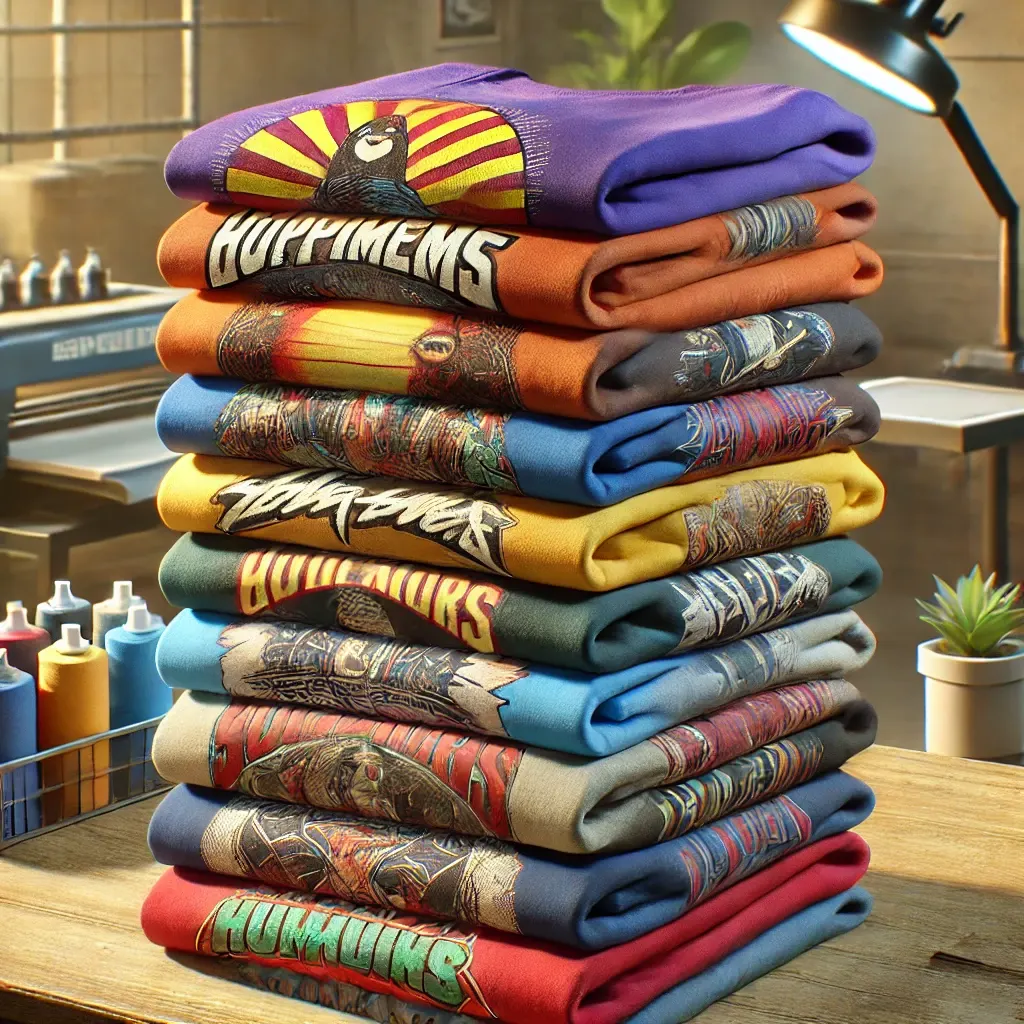
Mastering the Art of Screen Printing: A Comprehensive Guide
Screen printing is a timeless and versatile method of printing designs onto t-shirts, textiles, and various other surfaces. Known for its vibrant colors and durability, screen printing remains a go-to technique for custom apparel creators, artists, and businesses alike. If you're looking to learn, refine, or master the craft, this guide will walk you through everything from the basics to expert-level techniques.
What Is Screen Printing?
Screen printing, also known as silk screen printing, involves using a mesh screen, ink, and a stencil to transfer a design onto fabric or another surface. Each color in the design requires a separate stencil and layer of ink. The result is a bold, vibrant, and highly durable print.
The Basics of Screen Printing
1. Tools and Materials Needed
To get started with screen printing, you’ll need the following:
- Screens: Made of a mesh stretched tightly over a frame. The mesh’s thickness affects the level of detail.
- Squeegee: A rubber blade used to push ink through the mesh screen onto the fabric.
- Inks: Plastisol inks are commonly used for vibrant, long-lasting prints. Water-based inks offer a softer feel.
- Emulsion and Coating Tools: Emulsion is applied to the screen to create the stencil.
- Exposure Unit: Used to harden the emulsion with light, forming the stencil.
- Heat Press or Conveyor Dryer: Cures the ink to ensure durability.
- Fabric or Surface: T-shirts, hoodies, posters, and more.
2. The Screen Printing Process
Screen printing involves the following key steps:
- Design Creation: Use graphic design software like Adobe Illustrator or CorelDRAW to create your design. Ensure it’s separated by color if it’s multi-colored.
- Screen Preparation: Coat the screen with emulsion, let it dry, and expose it to UV light with the design transparency. Wash out the unexposed emulsion to reveal the stencil.
- Printing: Align the screen over the fabric and apply ink with a squeegee. Repeat for each color, allowing each layer to dry before applying the next.
- Curing: Use a heat press or conveyor dryer to cure the ink, making the design permanent.
Tips for Achieving Professional Results
1. Choose the Right Mesh Count
Mesh count determines the level of detail your screen can capture:
- Low Mesh (80-110): Best for simple, bold designs with thick inks.
- Medium Mesh (155-200): Ideal for standard designs and fine detail.
- High Mesh (230-305): Perfect for intricate designs or water-based inks.
2. Perfect Your Technique
- Apply even, firm pressure with the squeegee for consistent ink coverage.
- Practice a smooth, single-pull motion to avoid uneven prints.
- Use registration tools to align multi-colored designs perfectly.
3. Maintain Your Equipment
- Regularly clean your screens and tools to prevent ink buildup.
- Store screens in a dry, dark place to preserve the emulsion.
4. Test Before Printing
- Perform test prints on scrap fabric to ensure proper alignment, ink consistency, and curing.
Advanced Screen Printing Techniques
1. Halftones
Use halftone patterns to create gradients and detailed shading in your designs. This involves printing tiny dots of varying sizes to mimic tonal variation.
2. Discharge Printing
Discharge inks remove the fabric’s dye and replace it with pigment, creating a soft, vintage look. This technique works best on 100% cotton fabrics.
3. Foil Printing
Combine screen printing with adhesive layers to apply metallic foil to designs, adding a reflective and premium look.
4. Simulated Process Printing
Simulated process printing allows you to achieve photo-realistic designs using a limited number of colors, blending them to create a full spectrum.
Common Screen Printing Challenges and Solutions
1. Ink Bleeding
- Problem: Ink spreads beyond the stencil lines.
- Solution: Use the correct squeegee angle and ensure the screen is properly tensioned.
2. Uneven Prints
- Problem: Ink coverage is inconsistent.
- Solution: Check your pressure and ink application technique.
3. Poor Registration
- Problem: Colors don’t align correctly in multi-color prints.
- Solution: Use a registration system and align your screens carefully.
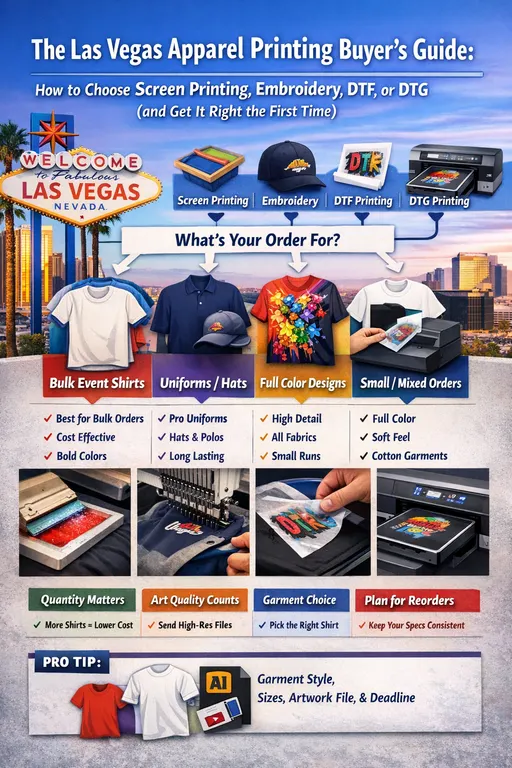
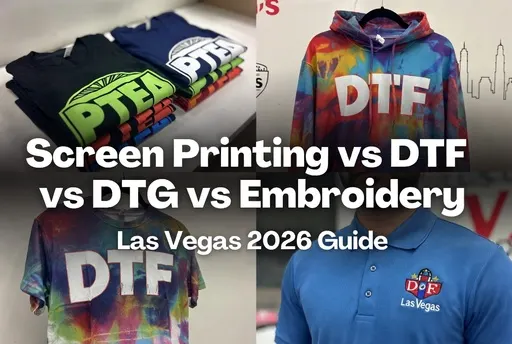
Screen Printing vs. Other Methods
Why Choose Screen Printing?
- Vibrancy: Inks sit on top of the fabric, resulting in bold colors.
- Durability: Screen prints withstand repeated washing.
- Scalability: Economical for large runs of the same design.
Limitations
- Time-consuming setup for small orders.
- Not ideal for designs with many colors or intricate details compared to DTG or sublimation.
Screen Printing for Business and Art
Screen printing is not just a technique; it’s an art form that allows for endless creativity. For businesses, it offers a cost-effective way to produce branded apparel. For artists, it provides a hands-on method to create wearable art.
Conclusion
Mastering the art of screen printing takes practice, precision, and a willingness to experiment. By understanding the tools, techniques, and nuances of the process, you can produce stunning custom designs that stand out. Whether you’re printing for fun, profit, or art, screen printing offers limitless opportunities to express creativity and make a lasting impression.
Are you ready to start screen printing? Share your first project or favorite technique in the comments below!